Chapter 23: Build Automation – Maven, Gradle, and Artifact Packaging
By Ali Naqi | November 02, 2026
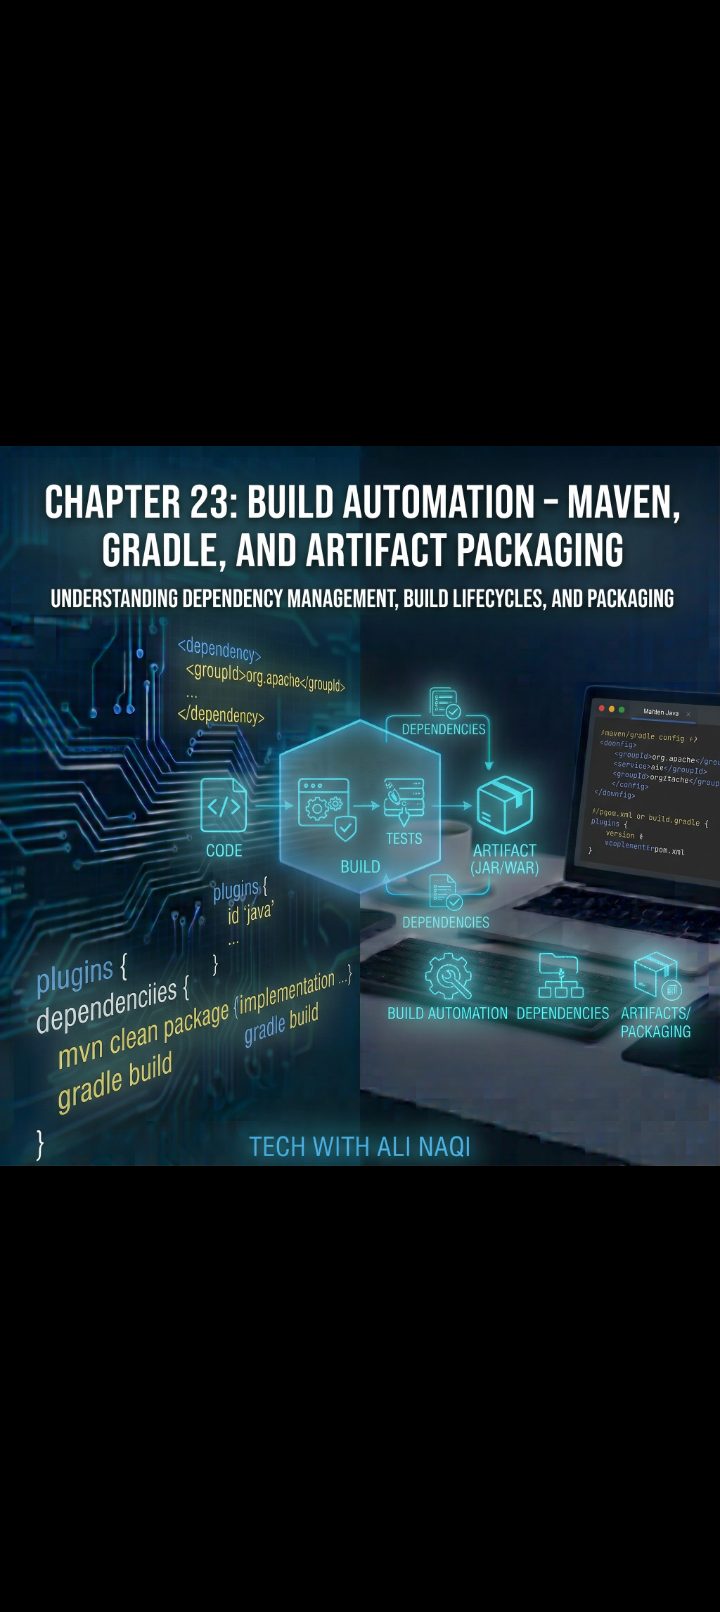
🔨 Chapter 23: Build Automation – Maven, Gradle, and Artifact Packaging
1. What Does a Build Tool Actually Do?
A build tool is far more than a script that calls the Java compiler. It acts as an automated project manager:
┌─────────────────────────────────────────┐
│ Project Descriptor │
│ (pom.xml or build.gradle) │
└────────────────────┬────────────────────┘
│
┌─────────────────┬───────────────┴───────────────┬─────────────────┐
▼ ▼ ▼ ▼
[ Dependency ] [ Source Code ] [ Automated Tests ] [ Packaging ]
Resolves & pulls Compiles source Executes unit/ Produces JAR /
remote libraries to .class bytecode integration suites Fat JAR / Docker
* Standardized Directory Structure: Enforces a predictable folder layout so any Java engineer can navigate a new codebase instantly.
* Dependency Management: Automatically downloads remote library binaries from central repositories (like Maven Central), stores them in a local cache, and resolves version conflicts across deeply nested dependency trees.
* Lifecycle Orchestration: Coordinates clean, compile, test, verify, and package tasks in strict topological sequence.
* Reproducibility: Guarantees that compiling the project on Linux, macOS, or a Dockerized CI pipeline yields identical results.
2. The Standard Java Project Layout
Both Maven and Gradle adhere to the standard directory convention pioneered by Apache Maven. If your project follows this structure, build tools compile and test your project with zero manual path configuration:
my-application/
├── pom.xml (or build.gradle) <-- Build definition file
└── src/
├── main/ <-- Production application code
│ ├── java/ <-- Root for Java source packages (e.g., com/example/app/)
│ └── resources/ <-- Non-code assets (application.properties, SQL, JSON)
└── test/ <-- Test suite code (never packaged into final production JARs)
├── java/ <-- Test source files (e.g., AccountTest.java)
└── resources/ <-- Test-only fixtures and mock configs
3. Apache Maven: Declarative Structure and the POM
Apache Maven is built around the philosophy of Convention over Configuration. Rather than writing custom procedural scripts, you describe your project declaratively using XML in a pom.xml (Project Object Model) file.
A. Anatomy of a pom.xml
Every Maven project requires coordinates known as the GAV (GroupId, ArtifactId, Version):
<project xmlns="http://maven.apache.org/POM/4.0.0"
xmlns:xsi="http://www.w3.org/2001/XMLSchema-instance"
xsi:schemaLocation="http://maven.apache.org/POM/4.0.0
https://maven.apache.org/xsd/maven-4.0.0.xsd">
<modelVersion>4.0.0</modelVersion>
<!-- 1. The GAV Coordinates -->
<groupId>com.company.ecommerce</groupId>
<artifactId>order-service</artifactId>
<version>1.0.0-SNAPSHOT</version>
<packaging>jar</packaging>
<!-- 2. Global Properties & Compilation Targets -->
<properties>
<maven.compiler.source>21</maven.compiler.source>
<maven.compiler.target>21</maven.compiler.target>
<project.build.sourceEncoding>UTF-8</project.build.sourceEncoding>
<junit.jupiter.version>5.10.2</junit.jupiter.version>
</properties>
<!-- 3. Dependency Declarations -->
<dependencies>
<!-- Third-party library for JSON processing -->
<dependency>
<groupId>com.fasterxml.jackson.core</groupId>
<artifactId>jackson-databind</artifactId>
<version>2.17.0</version>
</dependency>
<!-- Test scope dependency: only compiled/run during testing -->
<dependency>
<groupId>org.junit.jupiter</groupId>
<artifactId>junit-jupiter</artifactId>
<version>${junit.jupiter.version}</version>
<scope>test</scope>
</dependency>
</dependencies>
</project>
B. Understanding Dependency Scopes
The <scope> tag instructs Maven where and when a dependency should be placed on the classpath:
* compile (Default): Available across compilation, testing, and production runtime.
* test: Available only when compiling and executing tests (e.g., junit-jupiter, mockito). Excluded from the final production package.
* provided: Needed for compilation, but expected to be supplied by the runtime environment or container at execution time (e.g., servlet-api provided by Tomcat).
* runtime: Not needed for compilation, but required for execution (e.g., a JDBC database driver implementation like postgresql).
4. The Maven Build Lifecycle
Maven's execution model is defined by standardized Lifecycles composed of sequential Phases. When you target a phase, Maven automatically runs all preceding phases in that lifecycle:
[ validate ] ──► [ compile ] ──► [ test ] ──► [ package ] ──► [ verify ] ──► [ install ]
* validate: Verifies the project structure is correct and all required information is available.
* compile: Compiles the source code under src/main/java into .class files in the target/classes directory.
* test: Compiles src/test/java and executes all unit tests using the Surefire plugin. If any test fails, the build terminates immediately.
* package: Bundles compiled classes and resources into an archive format (like a .jar).
* verify: Runs integration tests to ensure quality checks and metrics pass.
* install: Copies the packaged JAR into your machine's local Maven repository (~/.m2/repository), making it usable by other local projects.
Essential Maven Commands:
# Clean previous build artifacts and compile
mvn clean compile
# Run the test suite and report results
mvn test
# Package into a JAR without compiling test code (use with caution!)
mvn clean package -DskipTests
# View the resolved transitive dependency tree to debug version conflicts
mvn dependency:tree
5. Gradle: Expressive, High-Performance Builds
While Maven uses declarative XML, Gradle uses an imperative, code-first Domain Specific Language (DSL) written in Groovy or Kotlin Script (build.gradle.kts).
Gradle is known for:
* Incredible Build Speed: Uses an incremental build engine, a persistent background daemon, and compile caches. If no source files changed since the last run, Gradle skips the task with UP-TO-DATE.
* Programmatic Flexibility: You can write executable Java/Kotlin code directly inside your build script to manipulate tasks, download assets, or configure dynamic environments.
Gradle Build Script Example (build.gradle.kts)
plugins {
// Apply core Java plugin for compilation, testing, and packaging
java
// Apply application plugin to create runnable executable scripts
application
}
group = "com.company.ecommerce"
version = "1.0.0-SNAPSHOT"
java {
toolchain {
languageVersion.set(JavaLanguageVersion.of(21))
}
}
repositories {
// Where to look for remote libraries
mavenCentral()
}
dependencies {
// Implementation: Private dependency used at compile and runtime
implementation("com.fasterxml.jackson.core:jackson-databind:2.17.0")
implementation("com.zaxxer:HikariCP:5.1.0")
// Runtime only: JDBC driver implementation
runtimeOnly("org.postgresql:postgresql:42.7.3")
// Test dependencies
testImplementation(platform("org.junit:junit-bom:5.10.2"))
testImplementation("org.junit.jupiter:junit-jupiter")
testImplementation("org.mockito:mockito-junit-jupiter:5.11.0")
}
application {
mainClass.set("com.company.ecommerce.App")
}
tasks.test {
useJUnitPlatform() // Instructs Gradle to use JUnit 5 engine
}
Essential Gradle Commands:
# Compile and package the project
./gradlew build
# Run unit tests
./gradlew test
# Run the application directly
./gradlew run
# Inspect the resolved dependency graph
./gradlew dependencies
6. The Wrapper: Why You Should Never Install Maven or Gradle Directly
A recurring issue on development teams is version drift: Developer A has Gradle 8.2 installed, Developer B has Gradle 7.6, and the CI server runs Gradle 8.5. Builds fail because of subtle syntax or plugin incompatibilities.
To solve this, both tools provide Wrappers:
* Gradle Wrapper: gradlew (Linux/macOS) and gradlew.bat (Windows).
* Maven Wrapper: mvnw and mvnw.cmd.
The wrapper is a small shell script checked directly into version control (git). When a developer or CI server runs ./gradlew build or ./mvnw package, the wrapper script:
* Checks if the exact designated version of the build tool is present on the machine.
* If missing, it automatically downloads and caches that exact binary distribution behind the scenes.
* Forwards all commands to that version.
> Industry Rule: Always check the wrapper files (gradlew, gradle/wrapper/*, or mvnw, .mvn/*) into Git, and always execute your builds using ./gradlew or ./mvnw instead of global system binaries.
>
7. Packaging Strategies: Thin JARs vs. Fat/Uber JARs
When Maven or Gradle completes the package phase, what does the output JAR in target/ or build/libs/ actually contain?
A. The "Thin" JAR (Default)
By default, the packaging plugin bundles only your compiled application classes and resources. It does not include the bytecodes of your third-party dependencies (like Jackson or HikariCP).
If you try to run this thin JAR:
java -jar order-service-1.0.0.jar
The JVM will immediately crash with a java.lang.NoClassDefFoundError the moment your code references a class from a dependency. To run a thin JAR, you must supply the entire classpath manually:
java -cp "order-service-1.0.0.jar:lib/*" com.company.ecommerce.App
B. The "Fat" (Uber) JAR / Shadow JAR
In microservice architectures and cloud container deployments (Docker), you typically want a self-contained, standalone executable that includes:
* Your compiled application classes.
* The extracted .class files of every single third-party dependency.
* A manifest file (META-INF/MANIFEST.MF) pointing to your Main-Class.
┌───────────────────────────────────────────────┐
│ FAT JAR (app-standalone.jar) │
│ ┌─────────────────────────────────────────┐ │
│ │ com/company/ecommerce/*.class │ │
│ ├─────────────────────────────────────────┤ │
│ │ com/fasterxml/jackson/**/*.class │ │
│ ├─────────────────────────────────────────┤ │
│ │ com/zaxxer/hikari/**/*.class │ │
│ ├─────────────────────────────────────────┤ │
│ │ META-INF/MANIFEST.MF (Main-Class: App) │ │
│ └─────────────────────────────────────────┘ │
└───────────────────────────────────────────────┘
You create Fat JARs using plugins:
* In Maven: maven-shade-plugin
* In Gradle: com.github.johnrengelman.shadow (Shadow Plugin) or Spring Boot's BootJar plugin.
Configuring the Maven Shade Plugin:
<build>
<plugins>
<plugin>
<groupId>org.apache.maven.plugins</groupId>
<artifactId>maven-shade-plugin</artifactId>
<version>3.5.2</version>
<executions>
<execution>
<phase>package</phase>
<goals>
<goal>shade</goal>
</goals>
<configuration>
<transformers>
<transformer implementation="org.apache.maven.plugins.shade.resource.ManifestResourceTransformer">
<mainClass>com.company.ecommerce.App</mainClass>
</transformer>
</transformers>
</configuration>
</execution>
</executions>
</plugin>
</plugins>
</build>
Now, your application runs anywhere with a single, standalone command:
java -jar target/order-service-1.0.0-shaded.jar
8. Multi-Module Enterprise Projects
Real-world enterprise systems are rarely single, monolithic codebases. They are composed of distinct modules organized under a single parent project:
enterprise-system/
├── pom.xml <-- Parent POM (declares shared versions and plugins)
├── core-domain/ <-- Pure business entities and records (No DB or HTTP)
│ └── pom.xml
├── persistence-jdbc/ <-- Database DAOs and repositories (Depends on core-domain)
│ └── pom.xml
└── api-gateway/ <-- REST controllers and HTTP endpoints (Depends on persistence-jdbc)
└── pom.xml
By splitting systems into modules:
* Changes to the api-gateway don't require rebuilding or re-testing core-domain.
* Architectural boundaries are enforced by build tools: your domain layer cannot accidentally use database or web classes.
📝 Chapter Summary
* Build Automation Tools eliminate manual compilation, enforce directory conventions, download dependencies, and produce repeatable deployment artifacts.
* The Standard Project Layout places production code in src/main/java, assets in src/main/resources, and unit tests in src/test/java.
* Apache Maven uses a declarative pom.xml governed by GAV coordinates (GroupId, ArtifactId, Version) and structured lifecycles (validate, compile, test, package).
* Dependency Scopes (compile, test, provided, runtime) control classpath availability across compilation and production phases.
* Gradle uses an expressive Kotlin/Groovy DSL, providing superior build speeds via its incremental compile cache and daemon architecture.
* Always check the Wrapper (gradlew / mvnw) into Git to guarantee that all developers and CI pipelines build with identical tool versions.
* Standard builds yield Thin JARs containing only your application code; use tools like the Maven Shade Plugin or Gradle Shadow Plugin to build self-contained Fat/Uber JARs that package dependencies directly for production deployment.